A Flooded Private Well: Test, Disinfect and Flush Before You Drink

A boil water advisory from a utility comes with an end date. A flooded private well does not. Nobody is going to sample your well and tell you when to stop boiling — you have to establish that yourself, in the right order.
If floodwater covered the wellhead, or you are not sure, treat the well as contaminated until a laboratory says otherwise. CDC’s instruction is direct: after extensive flooding, or if you suspect contamination, do not drink the water.
Why a flooded well is a different problem
A drilled well is designed to keep surface water out: sealed casing, a tight cap, grout between casing and soil. Flooding defeats that in quiet ways — water enters through the vent, past a worn cap gasket, through a cracked casing, or down the electrical conduit, bringing silt, sewage, manure, fuel and pesticides with it.
Dug and bored wells are worse: CDC notes they are often shallow, with no lining, casing or grouting, so contaminants enter from the land surface.
A negative bacteria test right after a flood is not proof of safety. A well that tests clean on day three can test positive on day twenty.

Step 1: Stop using the water, without wrecking the pump
CDC’s list is longer than most people expect: do not drink the water, wash dishes in it, brush your teeth with it, wash or prepare food with it, wash your hands with it, make ice from it, or mix formula with it. Use bottled water, or water boiled for one minute.
Two mechanical cautions before anything else:
- Do not run the pump dry. A submersible pump that runs without water overheats and fails. If the water level dropped or the pressure tank is empty, stop and let the well recover.
- Do not stand in floodwater and operate electrical switches. Kill power at the breaker from a dry location before you touch anything, and leave the wiring to an electrician.
Step 2: Inspect before you touch the well
CDC’s precautions for well work come before anything else:
- Turn off all electricity to the well area before clearing debris, and have an electrician or well contractor check the wiring before power goes back on.
- Look for hazards: power lines on the ground or in the water, sharp debris, open holes, slippery surfaces.
- Do not enter the well pit. Gases collect there and the atmosphere can be fatal.
- Wear goggles when handling chlorine and tell everyone in the household not to drink or bathe in the water until the steps are finished.
CDC’s own framing is that disinfection should be done by a well or pump contractor, with the published steps used as guidance after checking with local authorities. If you are not comfortable with electrical equipment, chlorine and a wellhead, hire it out.
Step 3: Purge the dirty water
Before disinfecting, get the contaminated water out of the well and keep it out of the house.
Run water from the outside faucet closest to the well until it runs clear. Using the outdoor tap matters: it drains the well and the service line without pushing unsafe water into the interior plumbing. If there is no pump, bail until the water clears. Close the valves to any water softener first — CDC includes that step because the chlorine dose used for wells is hard on softener resin.
Step 4: Shock chlorinate
This is the part people get wrong, usually by guessing the dose. The bleach amount depends on the depth of water in the well and the inside diameter of the casing; CDC publishes a table for both.
Some reference points from CDC’s table for a drilled or driven well, using unscented household bleach at 5% to 9% sodium hypochlorite:
- 4-inch casing, 100 feet of water: 2 cups
- 6-inch casing, 100 feet of water: 5 cups
- 8-inch casing, 100 feet of water: 7 1/2 cups
The sequence, in CDC’s order:
- Mix the bleach with 3 to 5 gallons of water in a 5-gallon bucket.
- Remove the vent cap and pour it into the well with a funnel, avoiding electrical connections.
- Attach a clean hose to the nearest outside faucet and circulate water back into the well to mix it.
- Rinse the inside of the casing for 5 to 10 minutes.
- Open every indoor faucet until you smell strong chlorine at each one, then shut them off and leave the water in the well and plumbing for at least 12 hours.
- Drain the chlorinated water outdoors onto a driveway, away from plants, streams, ponds and storm drains, then run the indoor faucets until the chlorine odor is gone.
Use only unscented household liquid chlorine bleach. Splashless, scented, color-safe and “with added cleaners” products are not substitutes. And do not skip the 12-hour contact time — the chlorine needs it.
For a dug or bored well the volumes are much larger, and CDC’s separate table applies. Many of these wells cannot be reliably disinfected at all; if contamination keeps returning, the advice is to upgrade or drill a new one.

Step 5: Wait 7 to 10 days, then test
You cannot sample while chlorine is still in the system; the residue distorts the result. CDC’s instruction is to wait at least 7 to 10 days after disinfection, then have the water sampled. Until that test comes back clean, keep boiling for one minute or use another source.
Test for total coliform and either *E. coli* or fecal coliform bacteria — the standard indicators that the well is free of recent surface contamination. Your local health department can tell you where sampling kits are accepted, and EPA’s Safe Drinking Water Hotline (800-426-4791) can point you to labs.
How to read the result:
- Absent for total coliform and fecal coliform: the water can be considered safe to drink.
- Any coliform present: repeat the disinfection process and test again. If bacteria keep showing up, stop treating it as a plumbing problem and call the health department.
- Follow-up: CDC recommends another test in 2 to 4 weeks and another in 3 to 4 months, then monitoring at least twice a year.
That follow-up schedule is the part homeowners skip, and it is the part that catches a well damaged rather than merely flooded. A well that fails again after two disinfections is a contractor problem, not a bleach problem.

Flushing the house once the test is clean
A clean well does not automatically mean clean plumbing. Water sitting in lines, the heater and appliances has been there since the flood. Flush cold lines at every fixture, then hot; run the water heater until one full tank volume has been replaced (about 15 minutes for a 40-gallon tank, 30 for anything larger); replace whole-house, inline and reverse osmosis pre-filters; and run the softener through a regeneration cycle. The full order is in water heaters, softeners and filters.
When not to drink the water at all
Some conditions mean the well is out of service, not merely overdue for disinfection:
- Water smells of fuel or chemicals, or shows a sheen.
- Sewage backed up over the wellhead, or the well sat in water that carried sewage.
- The casing is cracked, the cap is missing, or the wellhead sits below grade and still holds water.
- Water stays turbid after purging, or nitrate is above the federal limit.
In those cases, bottled water is the supply until a contractor repairs or replaces the well — do not “fix” it with more bleach. If you rent, put the request for testing and bottled water to your landlord in writing; our renters guide covers what to ask for.
Frequently asked questions
The flood did not reach the wellhead. Do I still need to test? Test anyway if water pooled near it, if the casing is old, or if the water changed color or taste.
How long after shock chlorination can I test? At least 7 to 10 days, and only after all chlorine odor is flushed out. Sampling early produces a false pass or a false fail.

Bottom line
A flooded well is a three-part job: get the dirty water out, chlorinate the well and plumbing for at least 12 hours, then wait a week and pay for a real laboratory test before anyone drinks from the tap. Boiling covers you meanwhile. The test result, not the calendar, ends the advisory at your house — and the follow-up samples at 2 to 4 weeks and 3 to 4 months tell you the well survived.
Sources
- CDC, *How to Disinfect Wells After an Emergency*: https://www.cdc.gov/water-emergency/about/how-to-disinfect-wells-after-an-emergency.html
- EPA, *Emergency Disinfection of Drinking Water*: https://www.epa.gov/ground-water-and-drinking-water/emergency-disinfection-drinking-water
- EPA, *Protect Your Home’s Water*: https://www.epa.gov/privatewells/protect-your-homes-water
- CDC, *How to Make Water Safe in an Emergency*: https://www.cdc.gov/water-emergency/about/index.html
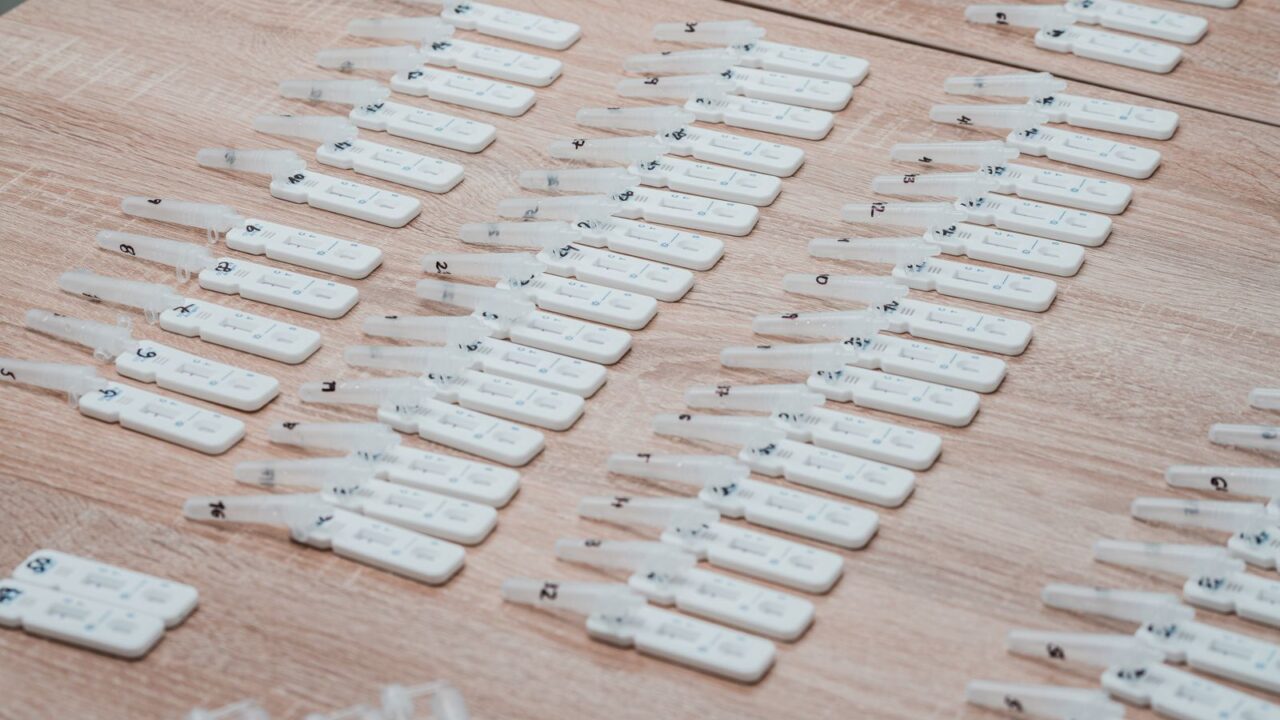 Home Water Test Kits Explained: Bacteria, Chemicals and When a Result Means Anything
 Water Treatment Tablets, Iodine and Chlorine Dioxide: What They Do and Where They Stop
 Disinfecting Water With Bleach: The Ratios That Actually Work